Measure jumps with the Vertical Jump Calculator
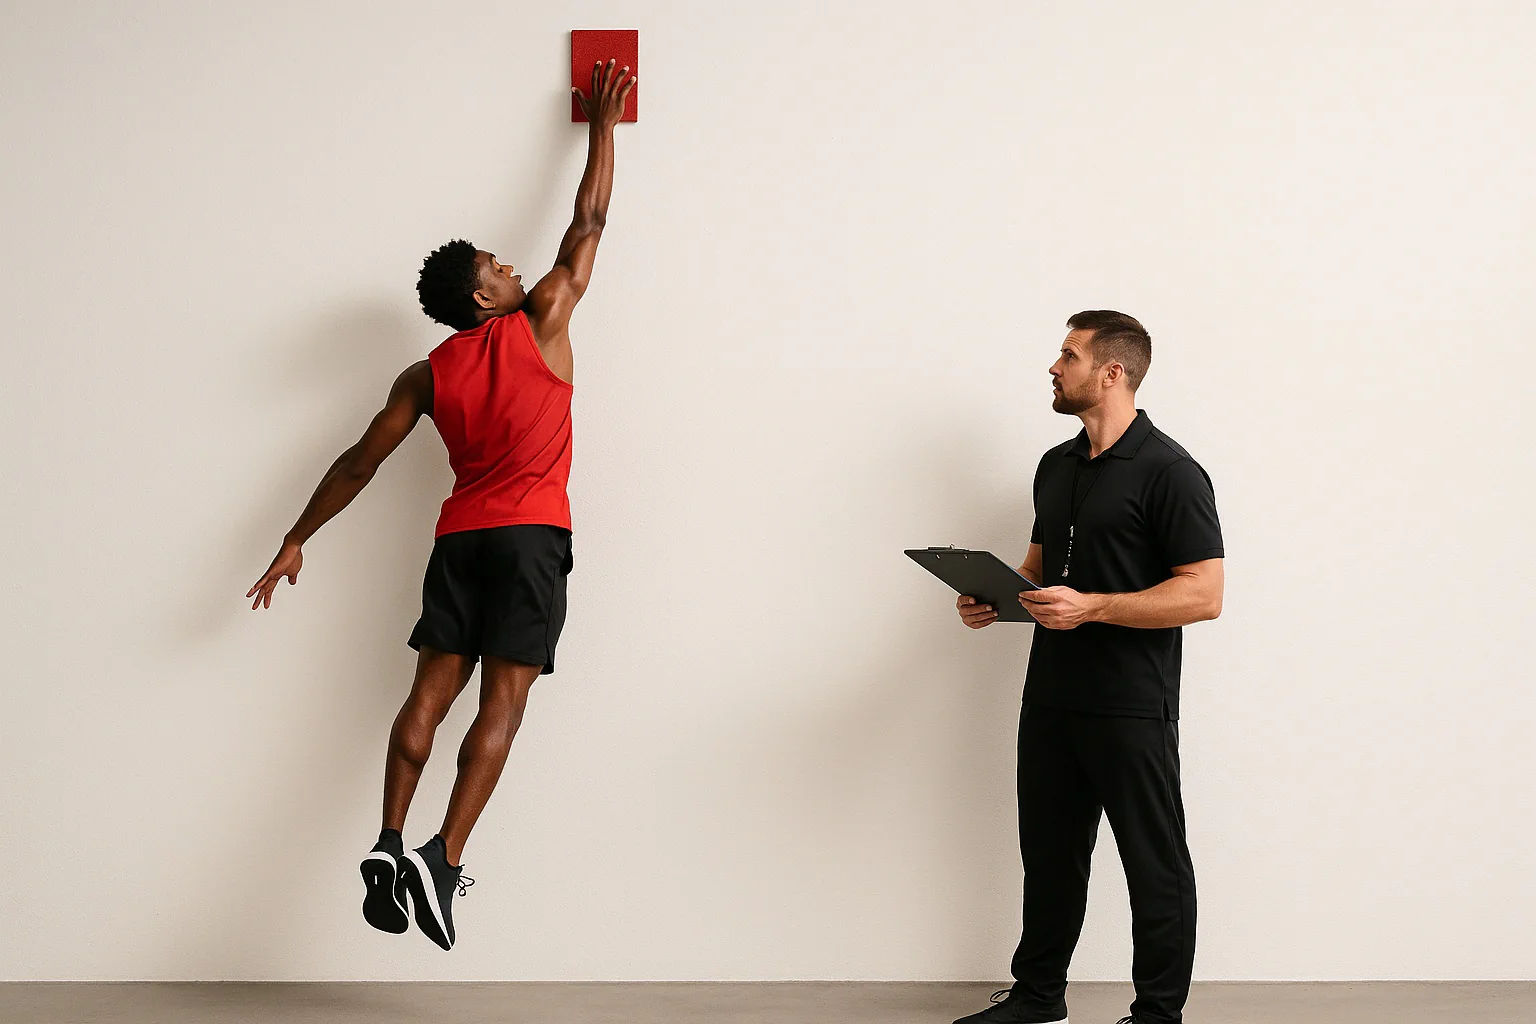
Mark both heights on a wall with tape/chalk, measure floor to mark, and subtract.
Your vertical jump
Method: reach difference
Use the same surface, shoes, and warm‑up when comparing results. Log your best of 2–3 attempts every 2–4 weeks.
Your rating helps improve Vertical Jump Calculator: Jump Height and Power. We store only an anonymized vote (no personal data).
How to Use Vertical Jump Calculator: Jump Height and Power
Step 1: Pick Units
Choose centimeters/kilograms or inches/pounds to match your measurements.
Step 2: Select Method
Use reach difference (standing reach vs. jump touch) or hang time from video.
Step 3: Enter Values
Type your measurements. Add body weight (optional) for a power estimate.
Step 4: Review Height
See your vertical jump in both cm and inches with context ranges.
Step 5: Log & Re-Test
Record your best attempt and re-test every 2–4 weeks to track progress.
Key Features
- Reach or hang-time methods
- Metric/imperial units
- Power estimate (Sayers)
- Context ranges & tips
- Mobile-first inputs
Understanding Results
Vertical Jump Calculator: Formula & Methods
There are two common ways to calculate vertical jump height:
- Reach difference (standing test): jump height = jump touch height − standing reach height. Measure both against a wall and subtract.
- Hang-time method (time of flight): h = (g × t²) / 8, where g = 9.81 m/s² and t is total air time in seconds. We convert meters to centimeters and inches for display.
This vertical leap calculator also works as a hang time jump calculator for quick, repeatable jump height estimates in either inches or centimeters.
If you enter body weight, we also estimate peak power using the Sayers equation for a countermovement jump: Power (W) = 60.7 × height(cm) + 45.3 × mass(kg) − 2055. Treat all outputs as estimates rather than lab measurements.
Reference Ranges & Interpretation
Vertical jump varies by age, sex, and training background. As a broad guide, many adult men land between about 16–24 inches (41–61 cm) and many adult women between about 12–20 inches (30–51 cm). Athletes in jumping and court sports trend higher; beginners trend lower. Track your own trend over time under consistent conditions.
For general physical activity context, see the CDC Physical Activity Basics. Use that as broad background while your jump testing stays sport‑specific.
Assumptions & Limitations
Results depend on clean measurements and repeatable technique. Reach tests require a firm wall mark and full overhead extension; hang‑time tests require precise timing of take‑off and landing. Phone slow‑motion helps, but frame rate and motion blur can still introduce error.
Surface, footwear, and warm‑up also matter. Test on the same surface (e.g., hardwood or rubber flooring), in the same shoes, after a standard warm‑up of light cardio and a few practice jumps. Avoid testing the day after heavy lower‑body training. Use the best of 3–5 attempts and re‑test every few weeks to track change rather than relying on a single number.
Vertical jump is influenced by strength, rate of force development, tendon stiffness, and skill. This tool is informational and not medical advice.
Complete Guide: Vertical Jump Calculator: Jump Height and Power
Use our vertical jump calculator to estimate jump height from reach difference or hang time, convert inches and centimeters, estimate power from body weight.
A higher vertical jump usually reflects a blend of strong legs, quick force production, stiff tendons, and clean jumping mechanics. You don’t need a lab to track it. With a wall, a phone, or a tape measure you can measure your vertical in minutes, then use the same setup to retest every few weeks and see clear progress.
What is vertical jump and why it matters
Vertical jump is how high your center of mass rises during a maximal jump. Most people test a standing countermovement jump (quick dip and drive without steps). Court and field athletes sometimes also test approach jumps with steps, which are typically higher because horizontal momentum helps you rise.
A good vertical does not come from one trait alone. Strength builds the foundation. Rate of force development lets you use that strength quickly. Stiff tendons return energy like springs. Technique and timing make those pieces work together. This guide explains how to measure your jump consistently and how to use that data to guide training.
How this calculator works
The calculator offers two practical ways to find jump height:
- Reach difference: Measure standing reach and the highest jump touch against a wall, then subtract. This is the classic “chalk on the wall” method.
- Hang time: Use total time in the air from take‑off to landing and the physics equation h = g × t² ÷ 8. A phone in slow‑motion is enough to get close.
You can enter either method and see height in both centimeters and inches. If you add body weight, the tool also estimates peak power using the Sayers equation for countermovement jumps. While a lab force plate is the gold standard, these estimates are great for day‑to‑day training decisions.
If you time hang time from video, note your phone’s frame rate. At 240 fps, each frame is about 0.0042 s; at 120 fps, it’s ~0.0083 s. Mark the first frame where your feet leave and the first frame where they land, then multiply the number of frames by the frame duration to get total time in the air. This reduces the chance of starting or stopping the timer late.
Measurements you can trust at home
Keep the setup simple and repeatable. For reach tests, mark with tape or chalk and measure from floor to mark with a tape measure. Reach with the same arm, keep heels down, and fully extend through the shoulder and fingers. For hang time, record in slow‑motion and mark the frame where your feet leave and the frame where they land. Count frames or use timestamps to calculate total air time.
- Surface: Use the same flat surface each test. Avoid thick, squishy mats that change take‑off.
- Shoes: Wear the same shoes or go barefoot consistently.
- Warm‑up: Do a brief warm‑up: light skips, calf raises, bodyweight squats, and a couple of submax jumps.
- Attempts: Take 2–3 quality attempts with full rest and log the best value.
- Notes: Log surface, shoes, and any cues you used so you can recreate the test later.
If you have access to equipment, a Vertec or jump mat can speed up testing, but simple tools still work well when you’re careful. Be wary of apps that estimate height from body tracking without a clear timing reference; bright light and distinct foot contact frames improve reliability.
Interpreting your numbers
Broadly, many adult men land between 16–24 inches (41–61 cm) on a standing vertical and many adult women between 12–20 inches (30–51 cm). Specialized jump athletes often exceed those ranges. The most useful benchmark is your own trend line. If your height climbs slowly over months, your training is moving in the right direction.
If your number stalls, consider whether one link in the chain is holding you back. Some lifters are strong but slow off the floor; others are springy but lack strength to express more height. The rest of this guide shows how to organize training so you can address the right piece at the right time.
Estimating power from jump height
Peak power estimates help you compare jump results across different body weights. The Sayers equation is: Power (W) = 60.7 × height(cm) + 45.3 × mass(kg) − 2055. It was built for countermovement jumps, not squat jumps or depth jumps. Use it to watch trends, not to chase exact watt numbers.
Relative power (W/kg) is often more meaningful for moving your body quickly. If you’re gaining muscle and your jump height stays the same, absolute watts may rise while W/kg stays flat. That can be fine during a strength phase. During a peaking phase, many athletes aim to maintain strength while letting W/kg climb from faster, lighter movements and crisper technique.
How to improve your vertical jump
Improving vertical jump is about doing a few things well: build a base of lower‑body strength, practice jumping skill, and add just enough plyometrics to sharpen the stretch‑shortening cycle without beating up your joints. You don’t need a pro‑level program. Short, focused work adds up if you stay consistent.
- Strength: Squats, deadlifts, split squats, hip thrusts. Aim for clean reps and keep weekly volume steady. Our squat max calculator, deadlift calculator, and one‑rep max calculator can help plan loads.
- Rate of force: Jumps with short ground contact (pogos, snap downs, low‑box jumps). Keep contact crisp and sets small.
- Skill: Practice your actual jump with 1–3 cue words (e.g., “tall, quick, reach”). Video helps you spot arm swing timing and torso position.
- Conditioning: Keep easy conditioning easy so legs recover. Use the VO2 max calculator or VDOT calculator to set smart paces.
- Agility & speed: Short accelerations and direction changes reinforce footwork and stiffness. Try the sprint calculator and agility calculator for dedicated speed work.
A few simple technique cues can unlock height quickly:
- Countermovement depth: Dip only as deep as you can stay fast and tall—roughly a quarter‑squat for most.
- Arm swing: Swing hands back as you dip, then snap them up aggressively as you drive through ankles, knees, and hips.
- Ribcage over hips: Keep ribs stacked over the pelvis so power goes up, not forward.
- Feet: Drive through the whole foot and finish on the ball of the foot; avoid collapsing arches.
- Breathing: Small breath and brace before the dip; exhale naturally as you leave the floor.
For approach jumps, practice the last two steps (the “penultimate” step) so you can keep hips low and convert horizontal speed into vertical rise without braking too long. If your standing vertical improves but approach jump doesn’t, focus on those last steps and arm timing rather than adding more plyos.
Keep overall volume in a friendly place. If your legs feel wooden and your jump drops, you’re likely doing too much high‑impact work or not resting long enough between sets. Use the rest time calculator to keep quality high.
A simple six‑week progression
Here is a compact template to nudge jump height upward without overwhelming your schedule. Two to three short sessions per week are enough for most people.
- Weeks 1–2: Two sessions. Strength (squats or split squats) 3×5–8, low‑contact jumps (pogos) 3×15–20, 3–5 standing verticals at 80–90% effort.
- Weeks 3–4: Two to three sessions. Strength 3×3–5 a bit heavier; add snap‑down to jump 3×5; 4–6 verticals at 90–95% effort, full rest.
- Weeks 5–6: Two sessions. Strength maintenance 2×3–5; low‑volume plyos (e.g., 3×5 low‑box jumps); 4–6 verticals @ ~95% with the best cueing you found.
Test at the end of Week 6 with the same setup you used at the start. If you track sets and reps, the training volume calculator can help you keep weekly load steady while you sharpen speed.
If you hit a plateau, lower total jump contacts for two weeks and shift emphasis to clean strength work and short, fast jumps with long rest. Many athletes also benefit from a small deload (reduce overall load by ~30%) before re‑testing. Quality always beats quantity when the goal is height.
Testing frequency and logging
Most people re‑test every 2–4 weeks. Test after a short warm‑up on a day without heavy lower‑body training. Log your best of 2–3 attempts plus a few notes: surface, shoes, cue words, and any video angles you used. Small details help you reproduce the same conditions next time so changes reflect you, not the environment.
If you already track sprint times or change‑of‑direction, place jump testing on a separate day or before those drills so you capture a non‑fatigued number. Your trends across several tools will tell a clearer story than any single test.
Common errors and safety
The most common errors are partial reach on the standing test, inconsistent arm swing, and “rushing” with too little rest between attempts. For hang time, the biggest issue is starting or stopping the timer a frame too early or late. Use slow‑motion when you can, and don’t chase extra attempts once your take‑off begins to feel slower.
Warm up thoroughly, especially calves, quads, hamstrings, and hips. If a jump causes pain, stop and reassess. For broad, non‑sport‑specific activity guidance, see the CDC Physical Activity Basics and MedlinePlus: Exercise and physical fitness.
Schedule jump practice before heavy leg days or on a separate day. When in doubt, keep jump sessions short and crisp—3–5 sets of 3–5 jumps are usually enough. Longer sessions often trade power for fatigue and don’t move your number up.
Integrations and related tools
Use this calculator alongside a few related tools to round out your training info. For speed and skill, try the sprint calculator and agility calculator. For strength planning, the squat max calculator, deadlift calculator, and 1RM calculator are handy. For conditioning balance, explore the VO2 max calculator and VDOT calculator.
Above all, keep the process simple so you can show up often. Repeatable tests, a clear log, and a modest plan you actually enjoy will beat a perfect plan you never follow.

Written by Jurica Šinko
Founder & CEO
Entrepreneur and health information advocate, passionate about making health calculations accessible to everyone through intuitive digital tools.
View full profileFrequently Asked Questions
How do I measure standing reach at home?
Stand tall with heels on the floor, feet flat, and one arm fully extended overhead. Mark the highest fingertip touch on a wall using tape or chalk. Measure from the floor to that mark.
Can I use phone video hang time to get jump height?
Yes. Record a jump in slow motion and note the time feet leave and return to the ground. Enter hang time to estimate height using physics. A tripod and good lighting improve accuracy.
Which method is more accurate: reach difference or hang time?
Reach difference is reliable if markings are clean and you fully extend on the jump. Hang time is convenient but sensitive to timing error. Try both and compare over several attempts.
What is a good vertical jump?
Ranges vary by age, sex, and sport. As a rough guide, many adult men fall between 16–24 in (41–61 cm) and adult women between 12–20 in (30–51 cm). Focus on your trend over time rather than a single label.
How does body weight change the power estimate?
For the same jump height, higher body weight increases calculated peak power in watts. The Sayers equation uses height (cm) and mass (kg) to provide an estimate.
Does the vertical jump calculator work for approach jumps?
This tool estimates height from standing vertical tests. Approach jumps can be higher because of horizontal momentum. Use the same method each time so comparisons are fair.
How often should I re-test?
Every 2–4 weeks is common. Test after a light warm-up on a non-fatigued day, and keep surface, shoes, and cues consistent.
Related Calculators
5K Pace Calculator — Splits, Finish Time & Pace Zones
Train smarter with the 5K pace calculator: convert goal time to precise per-km and per-mile pace and split targets. Get fast, accurate results instantly.
Agility Calculator for T‑Test and Pro Agility (5‑10‑5)
Use our agility calculator to time T‑Test and pro agility shuttles, compare attempts, track change‑of‑direction speed, check asymmetry, and monitor progress.
Speed, Agility & Power — Athletic Performance Calculator
Analyze running pace, race predictions, strength 1RM, and jump power in one athletic performance calculator. Mobile‑first with quick inputs and clear results.
Bench Press Calculator — 1RM Max, Sets & Plate Math
Use our bench press calculator to estimate your 1RM from reps and weight, auto‑build working sets, warm‑up ladder, and plate math in kg/lb. Mobile‑friendly.
Calorie Burn Calculator for Exercise and Activities
Estimate calories with the calorie burn calculator (calories burned calculator). Uses MET values with weight and duration, summarizing totals clearly.
Deadlift Calculator — 1RM, Working Sets & Plate Math
Use our deadlift calculator to estimate your one‑rep max (1RM), build accurate working sets, and see plate math in kg/lb. Includes RPE input. Fast on mobile.